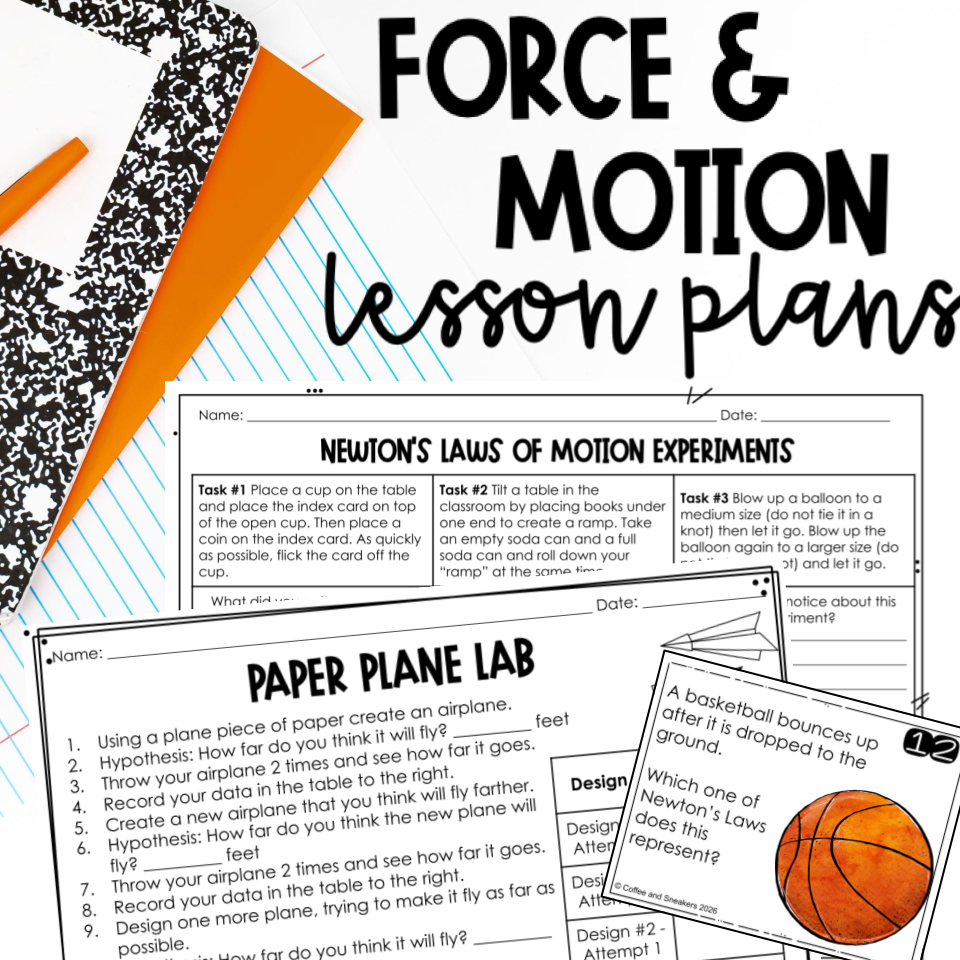
Looking for ready-to-use lessons on that? These activities are part of our 5th Grade Forces & Interactions Lesson Plans, which include detailed lesson plans, student recording sheets, videos, and many other activities to help students understand the relationship between force and motion.
Teach Gravity with These Low-Prep Science Investigations
Teach Gravity with These Low-Prep Science Investigations
The best ways to teach science are to allow students to explore and learn without direct instruction. Here are two hands-on gravity explorations that will enable students to learn about gravity’s impact on motion on their own.
For these activities I like to split the class in two. Half the class will work on the first investigation while the other half of the class works on the second investigation. Then midway through the time they switch investigations.
Total Time: 30 minutes (for both)
Exploration #1 - Gravity & Mass
Materials:
- 5 paperclips
- 5 rubber bands
- 5 objects (shoes, pencil pouch, notebook etc)
Steps:
- Hook one paper clip to a rubber band. The paper clip will be the “hook” to hold objects to.
- Hang an object of your choice from the paper clip and see how the rubber band stretches.
- With their partner, discuss how the mass of each object impacts the pull of the rubber band.
Exploration #2 - Gravity & Angles
Materials:
- Cardboard Strip
- Toy Car
- Items to make a ramp (books work well for this)
Steps:
- Using your cardboard strip, create a very low ramp.
- Let the car roll down the ramp.
- Repeat this 3 more times, adjusting the angle to be steeper each time.
- With your partner, discuss how the angle of the ramp impacted the movement of the object.

Student Observations
- Students will observe the rubberband stretches more with heavier items
- Students will observe the car travels faster and farther with a steeper ramp.
FAQ
What materials did you use?
For the first investigation any brand of rubber bands and paperclips will work. For the objects they will use to test we suggest picking something that has a way to hook them onto the rubber band. Here are some items we have found that work well.
- Spiral Notebook
- Scissors
- Pencil pouches
- Protractor
- Roll of Tape
- Empty lunchbox
For the second investigation you can use cardboard and books to make a ramp. However, after using cardboard for years we ended up investing in
these ramps*. They are more sturdy than cardboard and since there were several force and motion investigations that required us to use ramps each year it made sense for us to purchase something that would give us better results.
We also used these
monster trucks*. We have found sometimes the wheels from small cars don’t quite roll as well as they should which gives us inaccurate results. These monster trucks are friction powered so they travel much more smoothly and consistently.
Please know that cardboard, books and any cars you can get your hands on will work for this activity. We just wanted to share some resources we purchased and used that worked well for us.
What questions can I ask students to help them understand what is happening?
As you walk around the room checking in on different groups, you can ask the following questions to students.
- What is happening?
- Does it always happen the same way?
- What is changing each time?
- Do you notice any patterns?
- What evidence supports your conclusion?
- What would happen if we changed ______?
How do I maximize the time for students to complete this?
I recommend having the materials partially set up for students. It can be as simple as having the items needed grouped in a designated space. We also suggest that you spend a few minutes before letting students start to quickly go over the steps for both investigations. This way they have an idea of what to do before they get a written instruction.
*As an Amazon Associate, we earn from qualifying purchases.

Learn how reducing classroom downtime, shortening transitions, planning for early finishers, and having quick backup activities can help prevent behavior problems.

Discover a simple way to teach weather by tracking and graphing daily conditions, using real-time data to build vocabulary and science skills.

Explore matter, physical and chemical properties, and chemical changes with an exciting elephant toothpaste science experiment for kids.

Discover how science scavenger hunts make hands-on learning easy and engaging, with simple activities for exploring matter, forces, and more.

Try the Stroop Effect for kids! This fun brain experiment explores attention, the nervous system, and how our brains process competing information.

Closed sorts vs. open sorts: discover how both strategies help students classify, identify patterns, explain their thinking, and develop deeper science reasoning.
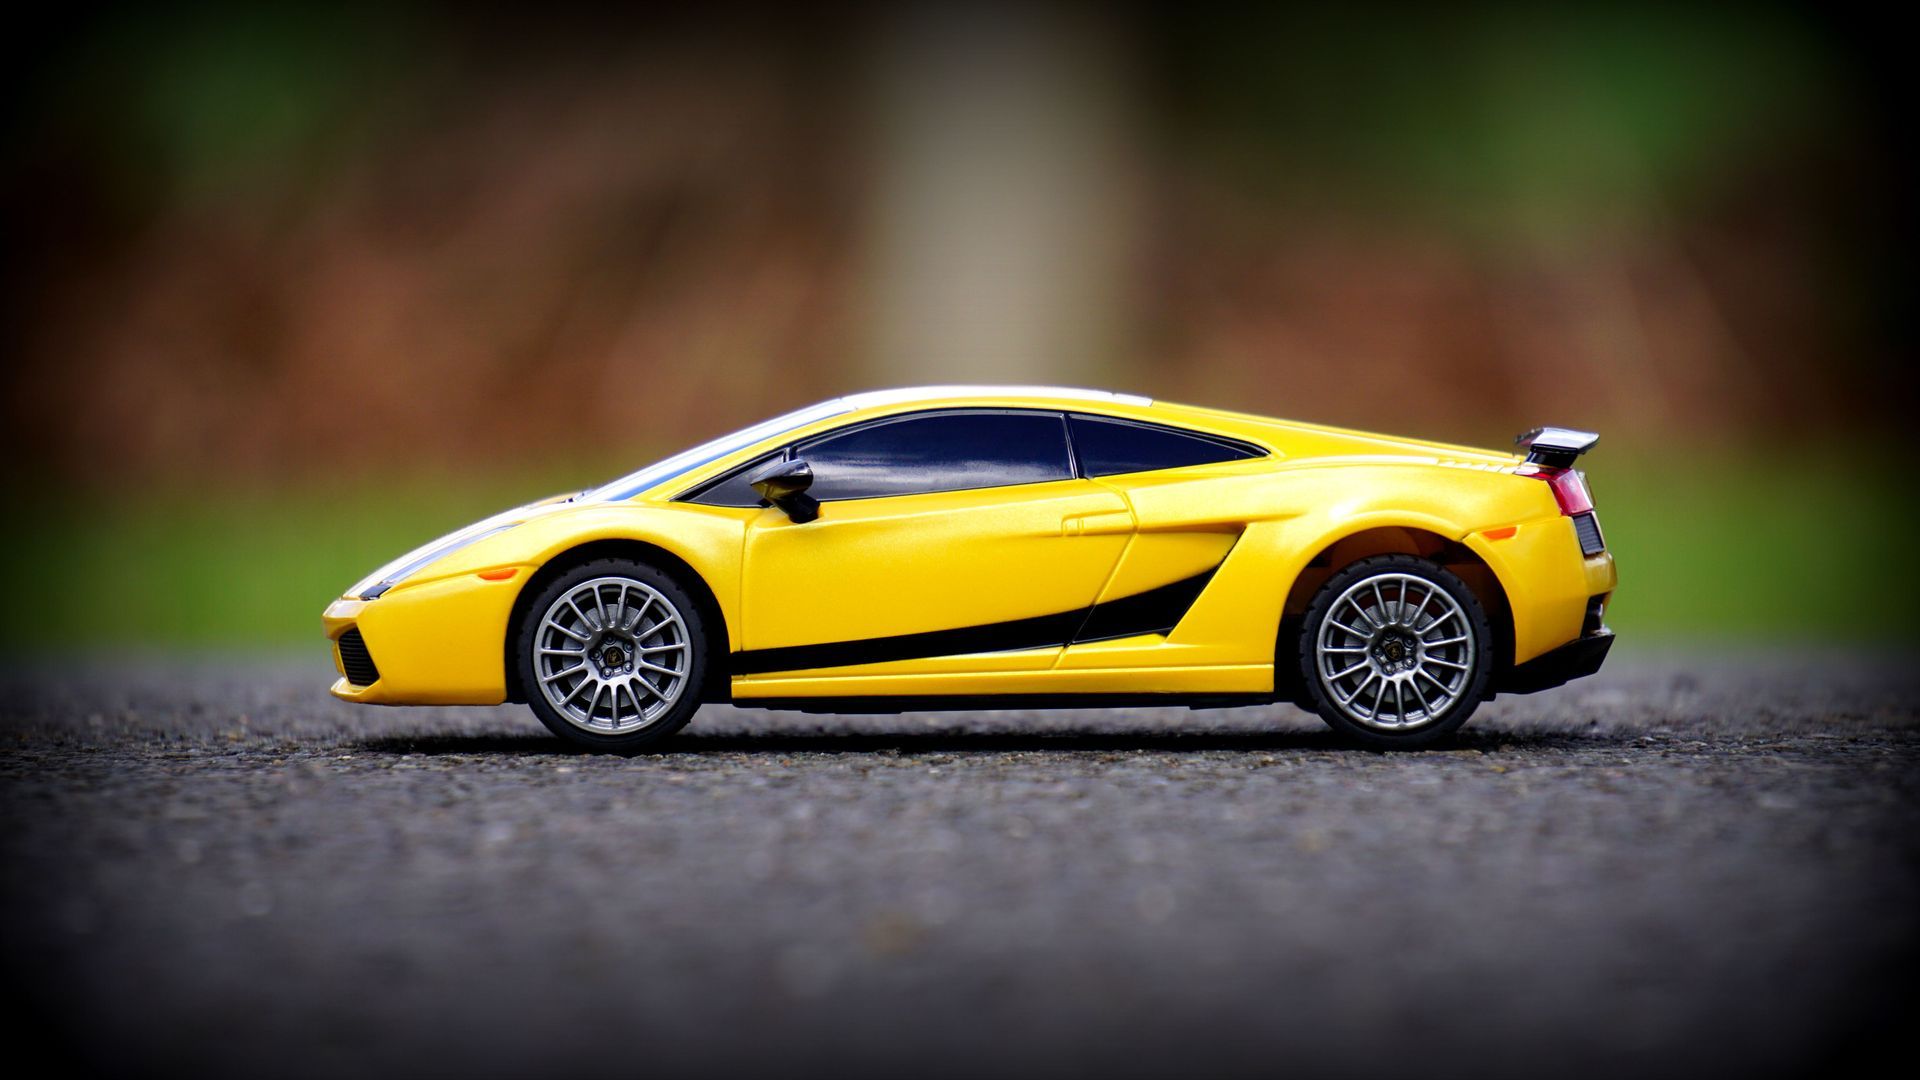
Teach friction with this engaging investigation! Students compare toy car speeds on ramps covered with sandpaper, bubble wrap, and aluminum foil.

Looking for a meaningful ecosystem project? Learn how to host an Ecosystem Expo where students research biomes, create displays, and present their learning.

Discover hands-on human body system projects that help students explore the skeletal, muscular, digestive, respiratory, and more using simple craft supplies.
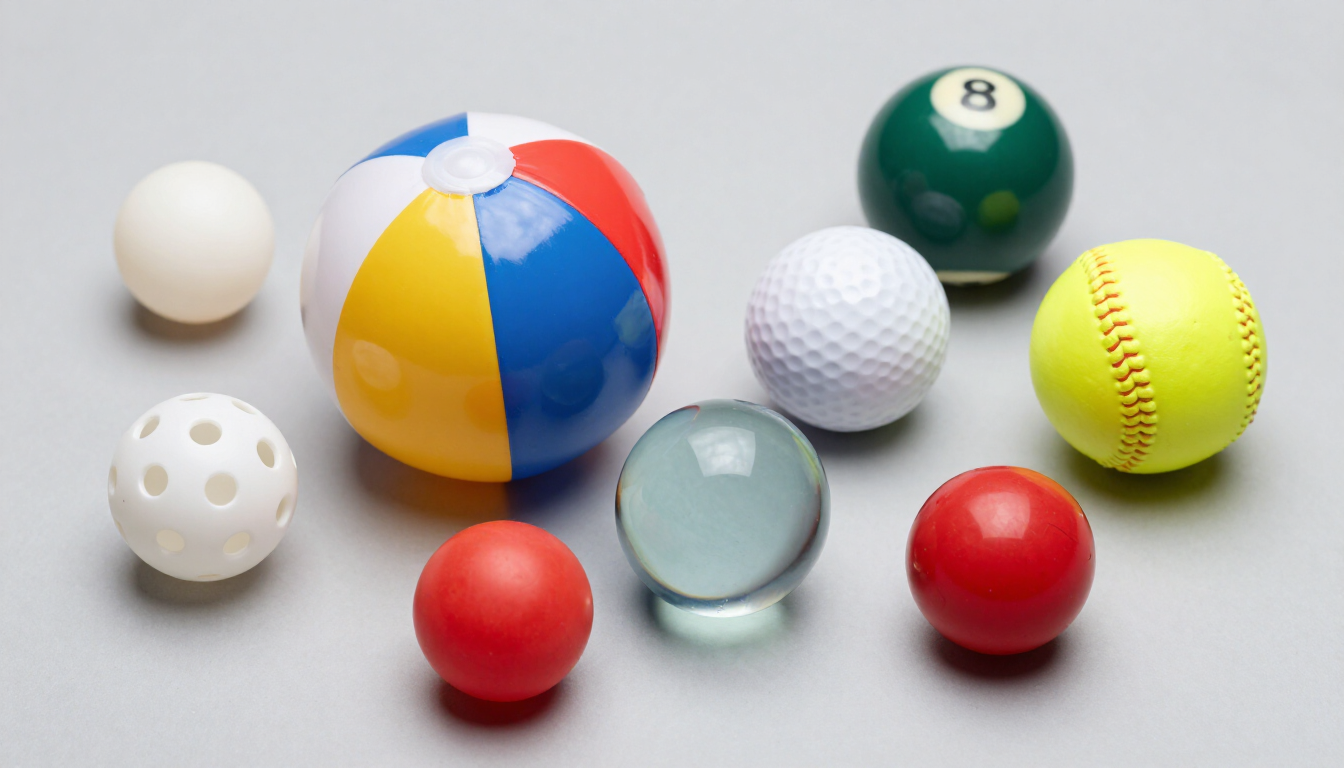
Teach force and motion with hands-on science activities that explore how force strength and mass affect movement using simple materials.