What students will observe:
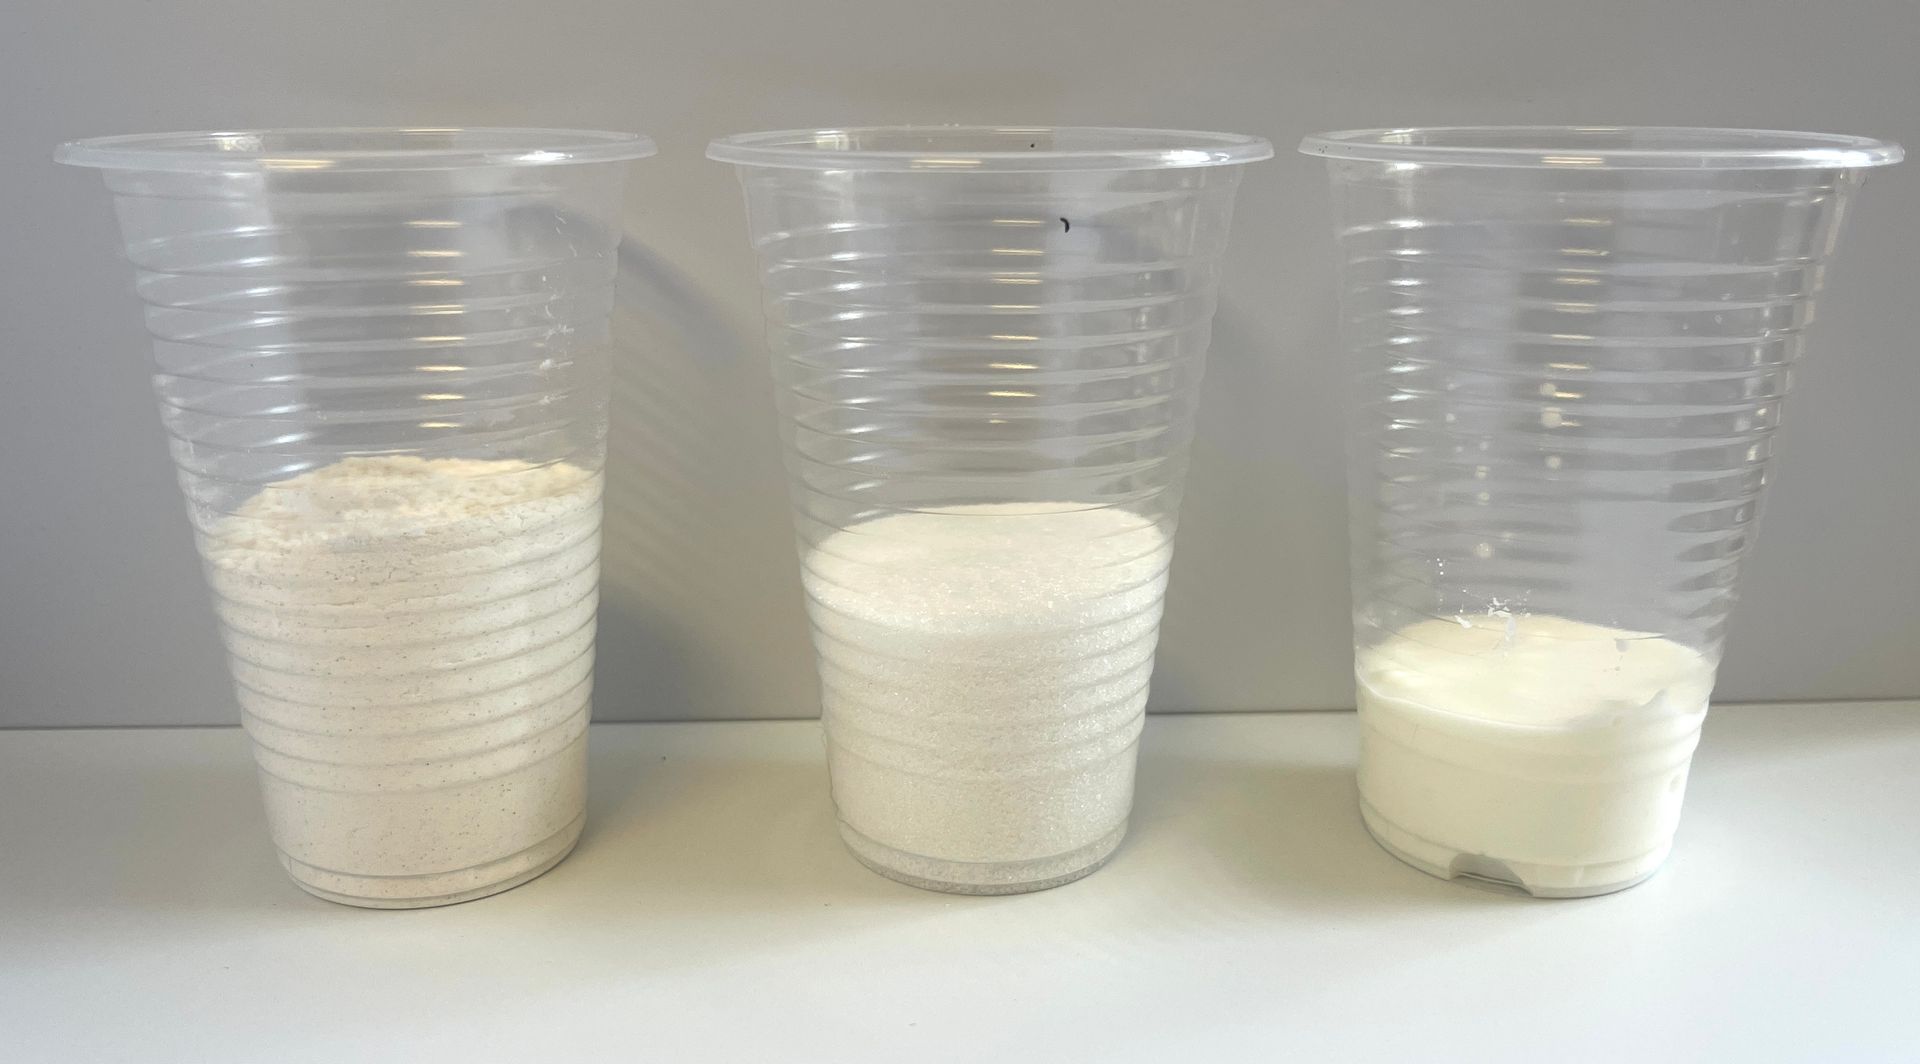
- With the sand (sugar) the water flows through to the bottom almost immediately!
- With the silt (flour) the water does travel through but much slower than the sand (sugar).
- With the clay (oobleck) the water stays at the top taking a very long time to travel through the substance.
Concepts:
- Soil is made up of different substances.
- Difference substances hold water and nutrients differently.
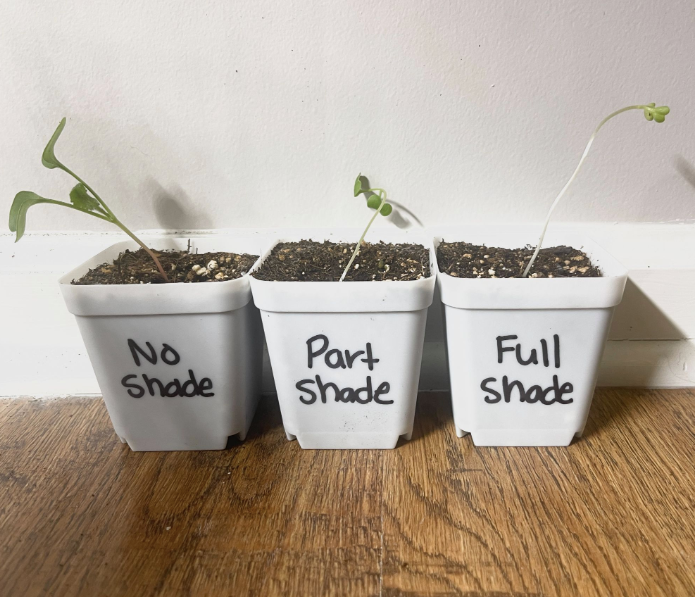
- Healthy soil helps plants survive and grow.
- In sand, water flows through quickly washing away nutrients.
- In clay, water flows through very slowly so water often sits on top of the soil.
- In silt, water flows through not as quickly as sand but not as slow as the clay.
Extension Activities:
Ask students which soil is best, then facilitate a discussion why the best soil is made up of all three substances.